Paludariums · Stone Cascade and Moss Gorge
Stone Cascade and Moss Gorge
Build a modest stone cascade with a visible return route, removable pump access and planted shoulders that drain independently of the water feature.
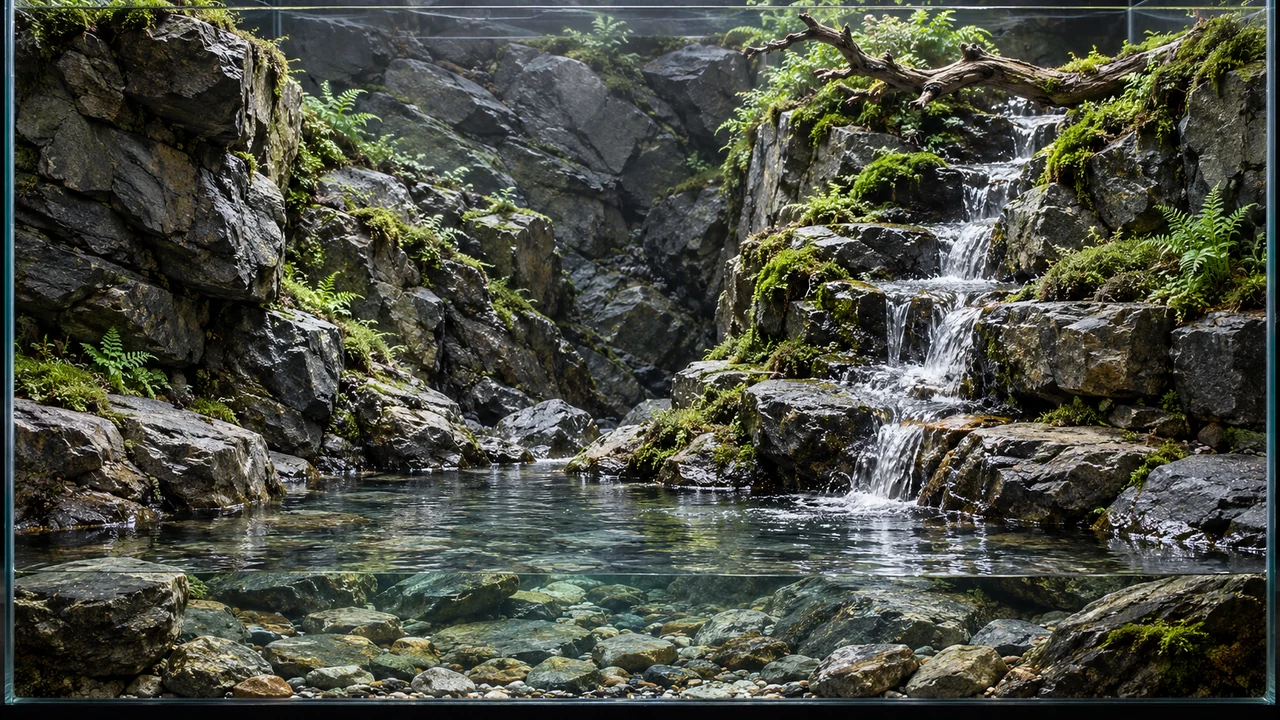
- Suggested enclosure
- 90 × 45 × 70 cm; proposed plant-and-water-feature dimensions.
- Main structure
- Low stable stone steps above an open catch basin.
- Service requirement
- Pump, guard, hose connections and drainage remain reachable without dismantling the gorge.
- Planting
- Moss patches and small plants on appropriate damp shoulders; no assumption that every moss tolerates immersion.
Let the gorge carry the water
The visual idea is mineral rather than root-led: a narrow run of water descends a few broad stone steps into an open basin. Dark moss patches soften selected shoulders, and small ferns occupy higher pockets outside the main water path. Keep parts of the rock exposed so the route remains legible. A small working cascade is more useful than a spectacular splash that makes the whole enclosure permanently wet.
Treat this first as a planted water feature. The pool's real volume and usable shape may be much smaller than the enclosure suggests. No fish, shrimp, snail or amphibian is automatically suitable because the scene resembles a creek. Animal decisions require an independent assessment of depth, chemistry, temperature, current, escape and access to safe resting positions.
1. Plan the catch basin and pump compartment
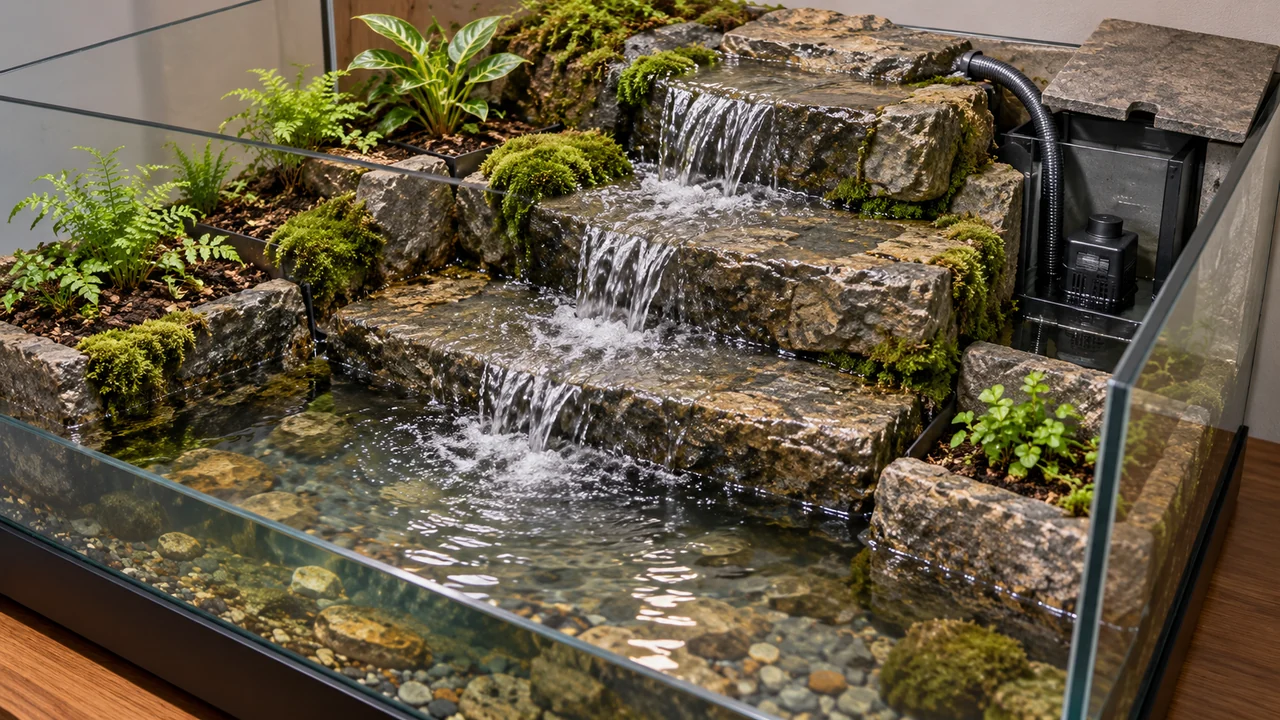
A 90 × 45 × 70 cm shell provides height for a short cascade while retaining a broad front basin. Keep the watercourse off-centre and reserve a full service opening at the rear or side. Measure the pump's actual compartment and the route needed to lift it out. A removable cover must stay removable after roots, moss and substrate settle around it.
Select a pump from its delivery at the planned lift height, not just its unobstructed maximum output. Follow its installation requirements, guard the intake and provide enough water to prevent dry running. If animals will ever be considered, filtration needs a separate adequate biological plan. Put accessible joints where a leak can be noticed, and keep electrical connections outside wet and splash zones.
2. Secure broad steps before adding planting
Choose manageable, suitable stones with broad stable contacts. Confirm the enclosure and stand can take their weight and use manufacturer-appropriate load spreading. Place the main stones before substrate, and test the structure from several directions. Avoid a tall pile balanced on small points or a heavy rock supported only by cured-looking surface moss or expanding foam.
Create a shallow catch area under every drop so splashes return to the basin. A suitable underlying liner or sealed channel must remain continuous; decorative rock joints are not automatically waterproof. Use only appropriate fully cured bonding materials and follow their stated conditions. Leave room to inspect the channel edges and avoid making hidden pools behind stones where dirty water can remain trapped.
3. Route the return and test the bare cascade
Run the hose securely behind the stonework to an accessible upper outlet. Set it so the water lands on the intended first step rather than spraying the glass or rooting pockets. Fill the basin, start at low flow and observe every stage. Increase only enough to produce a clear route. Large output can overwhelm a well-designed small catch basin and empty the reservoir surprisingly quickly.
Test while the enclosure is still unplanted. Look behind and beneath the rocks for bypass water, inspect the outside for leaks and check whether the upper structure drains safely when power is off. Restart according to the pump instructions. If a stopped system leaves water outside the intended reservoir or can siphon through an unintended route, correct that before hiding the plumbing.
Where the independent filter is designed for loose biological media, compare Natural Volcanic Lava Rock with Coarse Mesh Filter Media Bags for media and containment. These small lava pieces are filter material, not the large stable waterfall stones shown here; keep the pump and return accessible.
4. Keep the land substrate out of the circuit
Make higher planting pockets separately supported and drained, with suitable separators to retain fine material. Their roots may enjoy moisture, but the whole soil mass should not be washed by the cascade. Position each pocket so excess irrigation can escape through a known route without carrying soil into the pump. Keep the reservoir below the rooting medium and retain access to any collection point.
Use a modest volume of suitable airy planting mix where plants actually root. Do not fill every rock void with organic substrate. A dry service gap behind the channel helps reveal leaks and makes maintenance realistic. If a damp crevice cannot be inspected or drained, either open it or leave it unplanted rather than creating an attractive but stagnant hidden bed.
5. Match moss and ferns to their exact position
Choose cultivated material with known conditions, not anonymous moss taken from outdoors. Some plants suit damp splash shoulders, others need moist roots with air around them, and some tolerate continuous wetting poorly. Start with small patches that can be observed. Keep the main stream open rather than covering the whole watercourse with moss that can trap debris or redirect the flow.
Place small ferns higher than the permanent water path, with crowns exposed appropriately and enough rooting space. Check their mature size and temperature requirements. A gorge can retain a convincing natural appearance with substantial bare stone; failed moss does not need to be replaced by a more absorbent blanket. Review light, water quality, heat and wetting before assuming that another species or more mist will solve it.
6. Balance light, ventilation and splash
Select a group of plants that share a workable temperature regime, then measure both canopy and reservoir rather than using one warm corner as the whole enclosure reading. A bright lamp can heat the top of the gorge without warming the water equally. Mount lighting at its permitted clearance and keep spray away from fittings. Use a timer and adjust duration to actual growth and algae.
Maintain a ventilation path across the planted shoulders. A cascade raises local moisture, but it does not establish a correct universal humidity. Damp surfaces should not become an excuse for sealed stale air. If the front glass stays obscured, first reduce stray splash and review air exchange; do not install a stronger fan simply to compensate for water being thrown outside its intended channel.
7. Use botanicals only where they improve the layout
A small dry bark fragment on a higher ledge or a restrained leaf pocket can connect the stone to the planted margin. Choose materials appropriate to repeated wetting and inspect them as they soften. Keep loose leaves, tiny pods and fibres out of the pump bay. Prepare any material intended for the pool using the botanical preparation guide and assess its properties beyond appearance.
BBA materials are optional here. They should not block the return, conceal an unsafe stone contact or add avoidable organic load to a small reservoir. Do not pack the gorge with leaf litter to make it look more botanical. In this design the water route, damp planting shoulders and accessible stone crevices provide the main structure; additional materials should remain limited and retrievable.
For a restrained higher ledge, compare an individual piece from Indian Almond / Catappa Bark Sticks – Terminalia catappa with a few Dried Guava Leaves – Natural Aquarium Leaf Litter in an inspectable leaf pocket. Keep these optional accents outside the main cascade and away from the pump bay; the open stone and water route remain the design’s main features.
8. Service the watercourse as a system
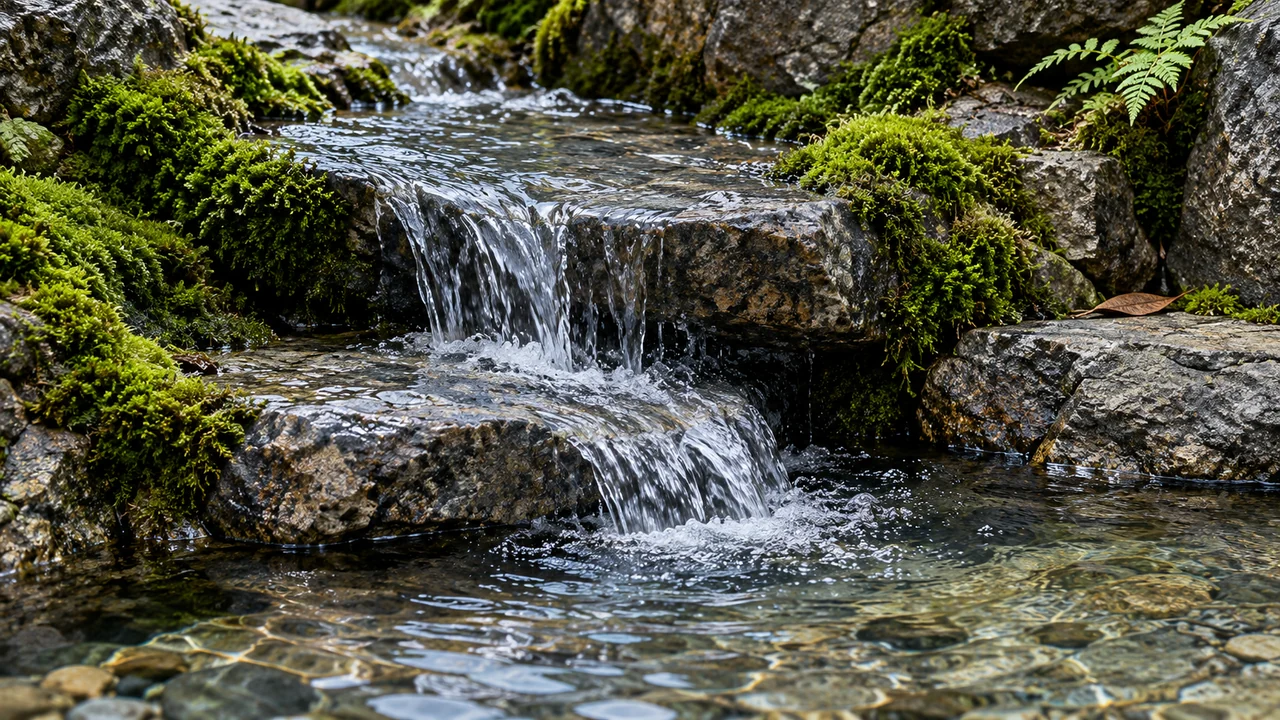
At routine maintenance, inspect the intake guard, remove loose plant fragments and check flow at the top outlet. Clean the pump and mechanical filtration according to their instructions, isolating electricity safely before handling equipment. Preserve established biological media where relevant. Lift debris from the basin and inspect for water running behind, rather than down, the visible steps.
Trim moss before it closes an edge or creates a new spill path. Clear rooting-pocket drains and check the water level before leaving the system running. Evaporation and splash loss need different solutions: topping up cannot repair a leaking channel. Keep enough access to compare the scene before and after cleaning, since a quiet loss of output may become obvious only when the upper step no longer wets correctly.
Correct problems without hiding them
If the reservoir drops rapidly, look for external splash, leaks and water trapped in land pockets. If a shoulder becomes foul, remove retained debris and restore drainage. If the stream becomes noisy or irregular, check the intake, hose and pump water level before increasing output. Brown or slimy moss needs its position and cultivation reviewed, not a permanent fog machine to disguise it.
If reaching the pump requires removing occupied habitat or heavy rocks, the access plan has failed; simplify it before adding animals. A finished gorge should remain understandable when the pump is off: stable steps, a catch basin, an upper return and a service route. That clear structure makes the attractive moving-water view easier to preserve over time.
Further reading and sources
These references support the horticultural and material principles. Enclosure dimensions and the construction sequence are BBA design proposals. The planting examples do not establish suitability for a reptile, amphibian or other animal.
- OASE manuals — manufacturer installation and maintenance — Use the exact selected pump manual for lift, installation, minimum level and maintenance; no particular pump is specified here.
- Vivarium Construction 101 — NEHERP — First-hand drainage and construction context; the BBA watercourse is an original proposal.
- How to grow ferns — RHS — Ferns have differing habitats and moisture tolerances; select the actual plant.