Botanical Aquascaping · Shallow Forest Pools
Shallow Forest Pools
Build a broad, low forest-pool interpretation with a protected surface, restrained floating cover and small leaf islands rather than a deep root wall.
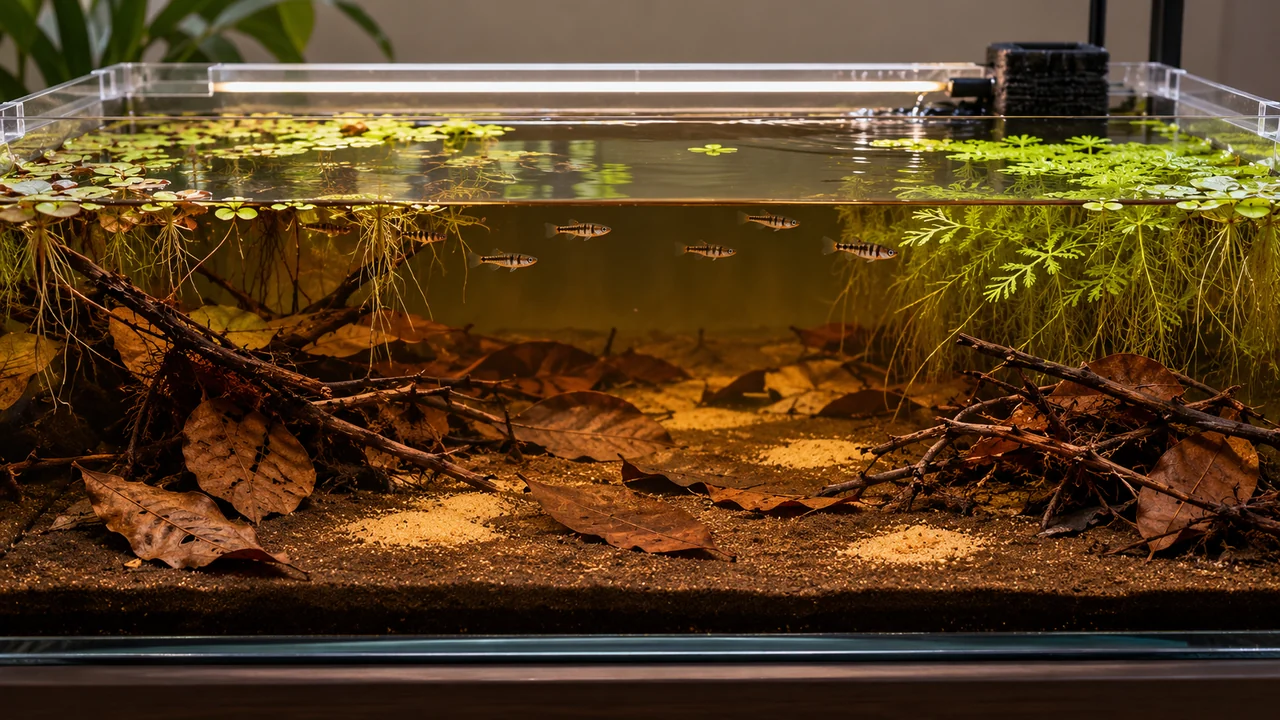
- Suggested shell
- 80 × 45 × 30 cm with approximately 20–23 cm working water depth.
- Design direction
- A West African forest-pool-inspired option for a separately assessed surface-fish group.
- Surface
- Close-fitting lid, gentle movement and open feeding gaps between floating plants.
- Floor
- Thin sand, low twigs and separated leaf islands; no deliberate drying or stagnation.
Make shallow water the visible structure
A broad footprint and low water column change how a forest-water aquarium is read. Instead of looking down a deep corridor, you see floating roots, reflected light and a few low islands of fallen material across a wide floor. Two modest twig groups at opposing edges frame an open middle. This is a pool design, not another version of the tall branching layouts or a reduced-depth peat-swamp carpet.
For a coherent biological direction, this guide considers a West African forest-water interpretation with clown killifish as one possible subject. It does not imply that every forest pool has the same fish, chemistry or seasonal history. Maintain a stable aquarium throughout the year: copying natural drying, oxygen depletion or an abrupt flood pulse would create avoidable problems rather than a more authentic home habitat.
1. Choose width, depth and a proper cover
An 80 × 45 × 30 cm aquarium filled to roughly 20–23 cm is a practical design proposal. Its wide base supplies usable surface and floor area while retaining equipment depth. Confirm that the selected filter and heater can operate safely at that water level. Allow for evaporation and water changes; a heater must not become exposed simply because the aquarium is intentionally shallow.
A close-fitting cover is essential for the proposed surface-fish direction. Close pipe and cable openings appropriately, and avoid leaning loose sheets against equipment as a permanent solution. Leave the necessary air space and ventilation for the actual installation. Check that routine feeding and maintenance can be done without lifting the whole lid for long periods or creating an unguarded escape gap beside a floating plant mat.
2. Establish the low floor and equipment route
Use a thin, manageable layer of rinsed fine inert sand, not a deep bed of decomposing soil. Position a small horizontal twig group at each margin and test its stability. Keep the centre open enough to see fallen food and reach it with a siphon. Add heavier support pieces only where necessary, ensuring they remain secure without relying on sand or leaves to hold them in place.
Install mature gentle filtration where it can be serviced from the front or side. An air-driven sponge filter can suit the concept if correctly sized and maintained; it still needs enough airflow for exchange. Protect other intake types from small fish and fry. Route the return so it moves water without sweeping the entire surface into one strong current or pinning floating plants over the feeding area.
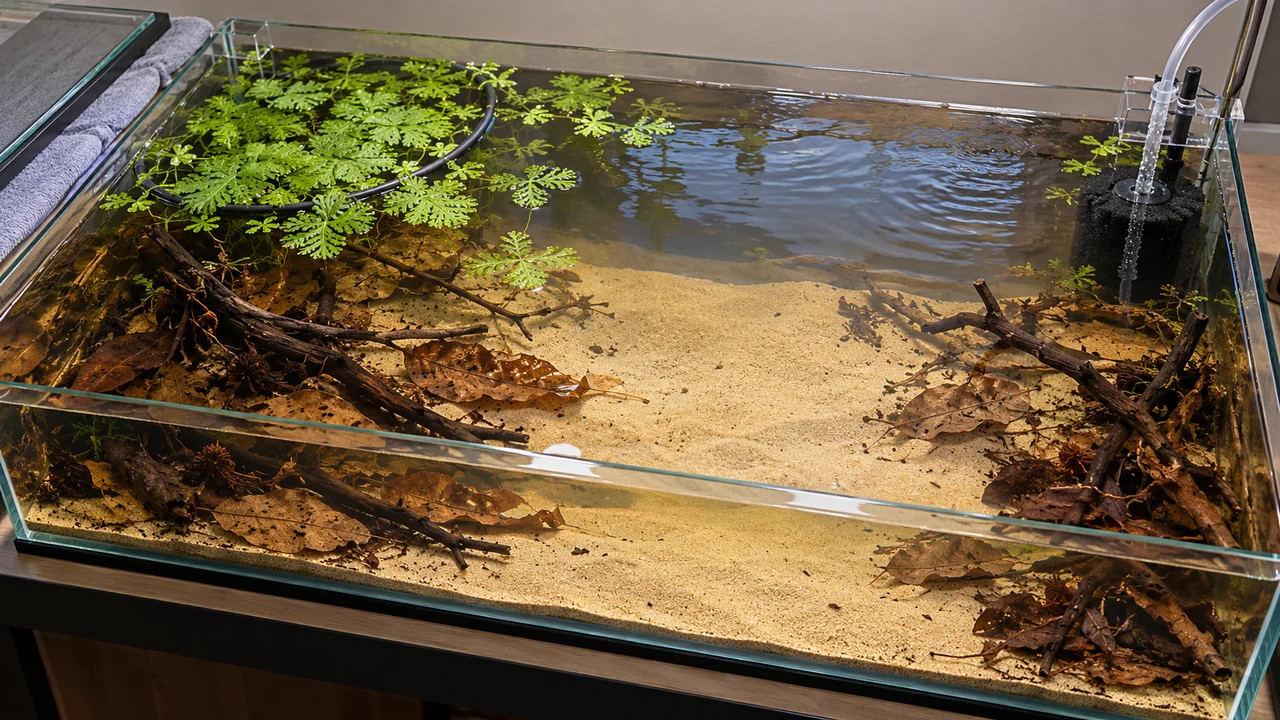
3. Divide shade and open surface deliberately
Begin with a modest group of suitable floating plants at one side. A discreet floating restraint can prevent the whole surface becoming covered, provided it is installed without trapping animals. Floating Ceratopteris is one practical habitat-style choice; check species and geographical claims separately if attempting a strict locality display. Long roots should provide structure without forming an impenetrable curtain across the entire aquarium.
Leave clear openings where food can be offered and fish observed. Thin plants as they grow, rather than waiting for the lower leaves and floor to become permanently dark. Keep airlift outlets and return openings free. The attractive reflection in the finished aquarium depends on patches of light and shade, not on sealing the water under a continuous green lid.
4. Add leaf islands rather than a mattress
Prepare clean leaves separately. Place a loose group near each twig base and allow exposed sand between them. Broad flat leaves suit the pool's low geometry; a few narrow fragments can connect a leaf island to the wood without filling the middle. Check openings and sharp edges in any seed husks before adding them. A pool does not need every type of botanical at once.
Begin with less than the final visual amount and observe water quality as the material settles. The shallow water volume gives less dilution than the external tank dimensions might suggest. Remove trapped food and excessive softened material rather than covering it with fresh leaves. Floating shade, small roots and thin leaf islands already provide several habitat functions without a deep accumulation of organic matter.
For broad leaf islands, compare Dried Mulberry Leaves – Aquarium Shrimp Food & Leaf Litter with Dried Oak Leaves – Natural Aquarium Leaf Litter, or select a few suitable pieces from TanninBae Beginner Variety Pack – 45-Piece Botanical Starter Box. Keep the low arrangement separated by open sand and retain clear surface-feeding gaps above it.
Where a small open cup adds a useful shape beside a twig base, Bellani Pumpkin Cups – Cut Natural Botanical Cups are one option to inspect for the actual inhabitants. Keep the piece accessible and below the open surface route rather than turning the pool into a pile of pods.
5. Match a surface-fish group to its food and water
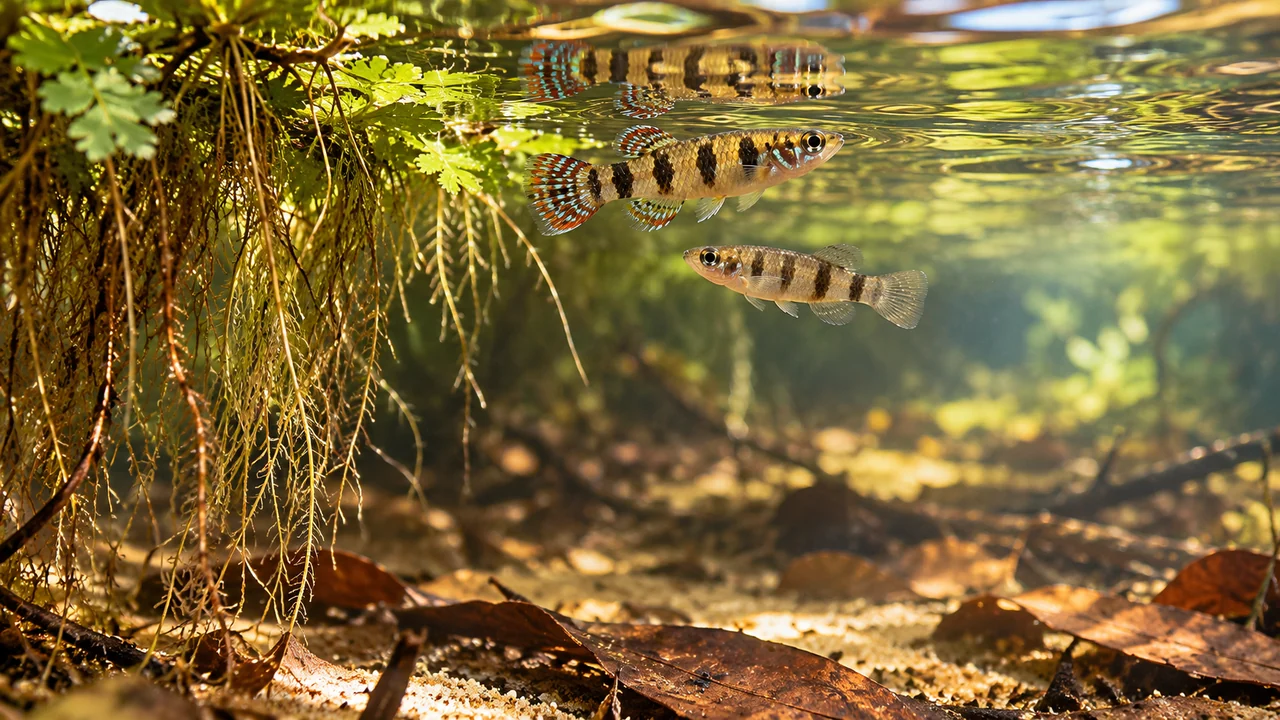
The completed clown killifish profile explains the small mouth, social arrangements and near-surface feeding of Epiplatys annulatus. Its practical maintenance plan centres on stable soft water around 22–25°C rather than a universal tropical high-temperature setting. Use the full profile to decide the actual group and water conditions. The broad aquarium proposed here supplies design room; it is not a formula for stocking by litres alone.
Offer suitable tiny foods at several quiet openings and watch each fish feeding. A large fish-food flake or a busy fast-feeding companion can defeat the purpose of a broad calm surface. Do not presume that floating roots produce all necessary nutrition. This is a non-annual killifish; a dry season is not required as a routine aquarium stage, and deliberately lowering the tank towards a puddle is not part of this project.
6. Mature the system before adding companions
Run and mature the filtration, then confirm ammonia and nitrite control before stocking. Check temperature at the surface as well as near the bottom, particularly beneath bright lighting. Prepare replacement water consistently and maintain the chosen chemistry without abrupt adjustments. The appearance of tea-coloured water does not show whether pH, hardness or oxygen suits the intended fish.
Consider a species-focused group first. Any additional fish, shrimp or snails must fit the same conditions and feeding plan and should not overwhelm the surface area. Small shrimp fry may be eaten, while snails have mineral and feeding needs of their own. A photograph with several appealing animals would not establish compatibility. Choose the community from evidence and observation rather than filling every visible zone.
7. Balance lighting with access to the surface
Use a restrained timer-controlled light period, initially around six hours as a practical starting point, and adjust to plant growth and algae. Keep the lamp far enough from the lid for its intended safe installation. Check for heat build-up during warm weather. Give yourself enough light at the feeding opening to assess body condition and retrieve uneaten food without illuminating every shaded area equally.
Gentle movement should reach the margins while keeping calm surface refuges. If plants constantly spin or fish shelter only behind equipment, redirect the return. If a still pocket develops under an overgrown mat, thin the plants and restore exchange. Quiet-looking water is a visual choice; persistent surface film, distressed breathing or foul accumulations are maintenance signals, not necessary features of a forest pool.
8. Maintain the shallow layout as it grows
At water changes, protect the animals and monitor the low operating depth so equipment stays safe. Lift loose waste from the central clearings and inspect one leaf island at a time. Trim floating roots where they obstruct feeding, observing whether fish are among them before removal. Clean the lid and check its fit after each maintenance session. Replace lost water through a considered routine rather than allowing repeated large swings.
If the floor becomes invisible beneath floating growth, reduce the mat instead of automatically raising light intensity. If the design feels too open, improve one low edge rather than adding a tall central root tower. Preserve the broad surface, stable shallow water and accessible leaf islands. The successful result is intimate and calm, with visible feeding opportunities and practical maintenance built into the appearance.
Further reading and sources
Natural-history references inform the habitat discussion. Dimensions, construction sequence and maintenance access are BBA design proposals, not measurements from a documented wild site or a claim that the pictured aquarium has been stocked and tested. Choose livestock using the linked species guide.
- Epiplatys annulatus — Seriously Fish — Habitat, small-food feeding and species-specific maintenance guidance.
- Clown killifish — Brazilian Killifish Association — Specialist context for non-annual reproduction; not a drying-out husbandry recommendation.